Category: Craft
-
Iron Minion
I found this really cool website for making cool figures of paper craft. There are lots of figures you can make by printing the color template, folding and lots of gluing. I made this:

Isn?t it cool? The website link: http://paper-replika.com
-
How To Fold Tissue Carnation
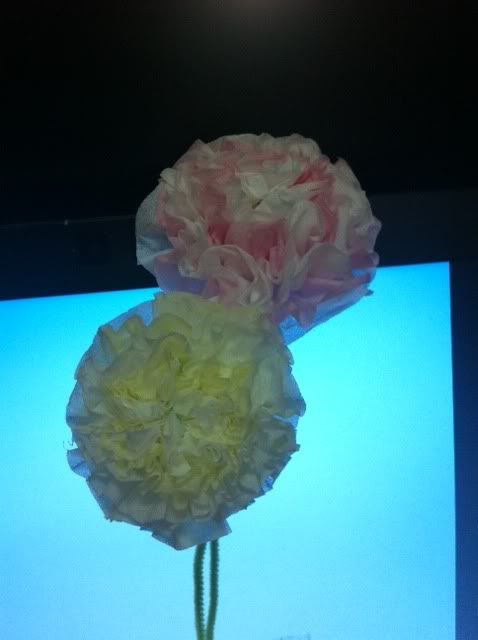
It has been a long time since I made one of these. I learn it when I was in secondary or was it primary. My sister ‘s friend thought me how to make it with tissue. It is really simple and I am sharing it with you.
Materials Required
1 piece of Tissue
1 long straight wire for the stem
A pair of scissors
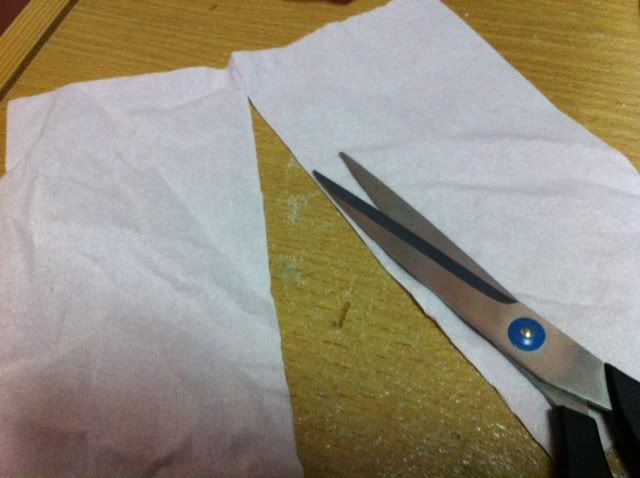
Cut the tissue into half. I am using a 3 ply tissue. If you are using a 2 ply tissue, divide it into 3 pieces.
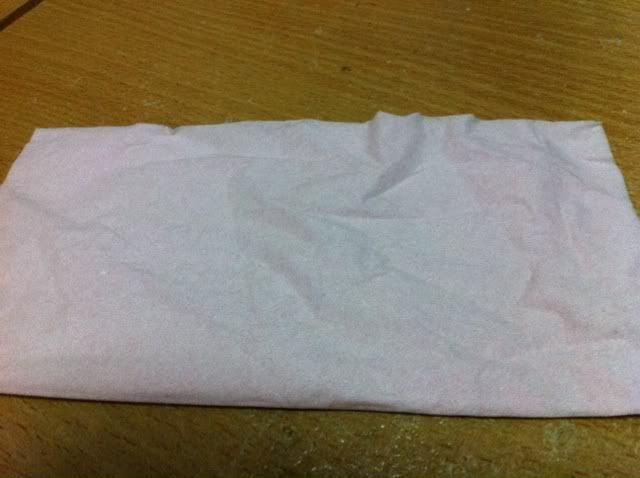
Stack it together.
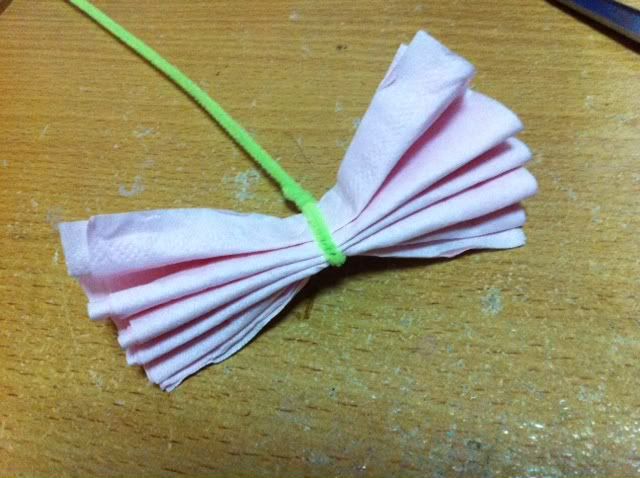
Fold it like a fan. Wire the center to hold it together.
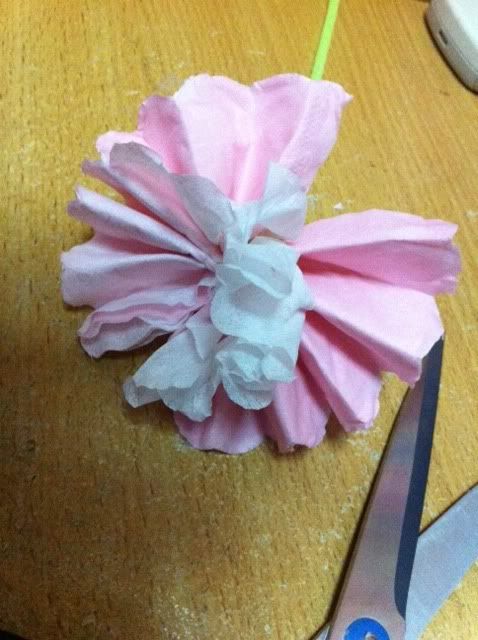
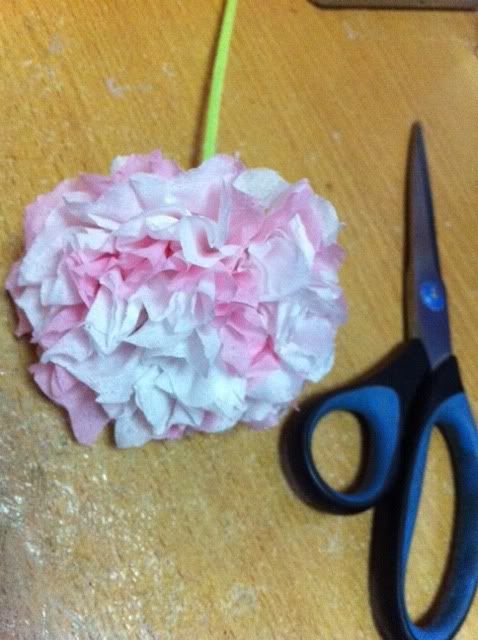
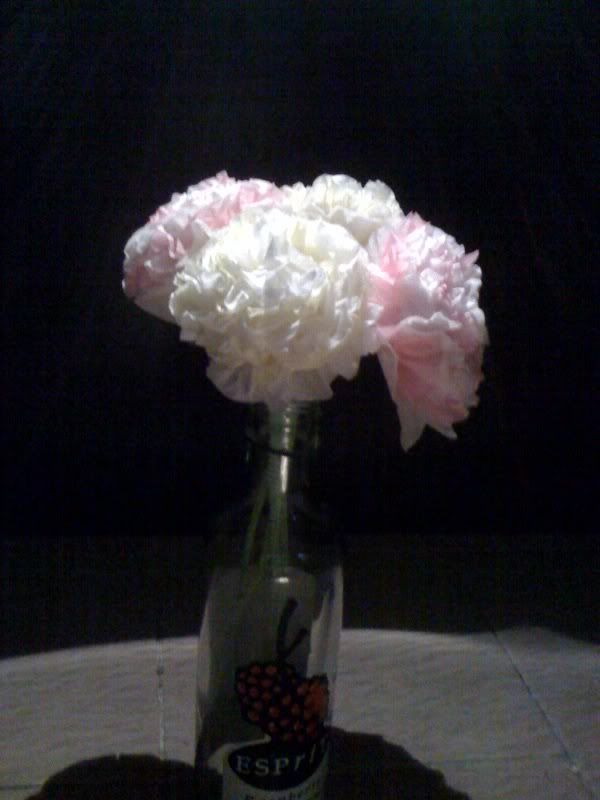
Start peeling the tissue upwards, layer by layer. And you have a beautiful carnation!
-
Chinese New Year Mood
I am looking forward to the coming Chinese New Year festival. Yeah I will be going back to my mom’s place and enjoy her cooking! That is one thing I missed.
I have started to make Chinese New Year lanterns for decorating my home. I saw one post from my pool of bloggers blogging about it. It has some good tutorials in it. Here are my lanterns and below are instructions to make these lanterns. Have fun with it.
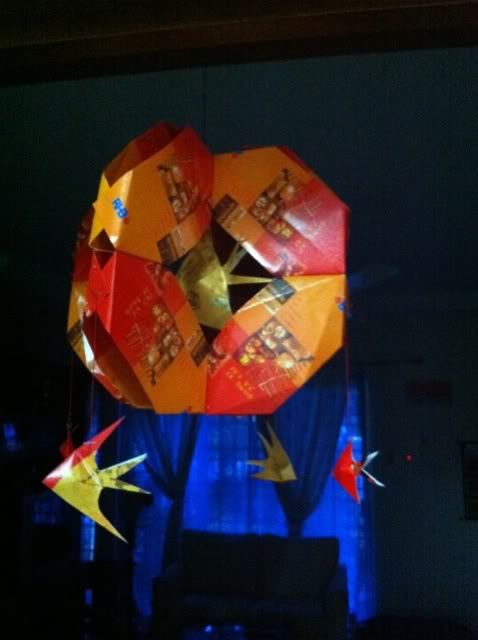
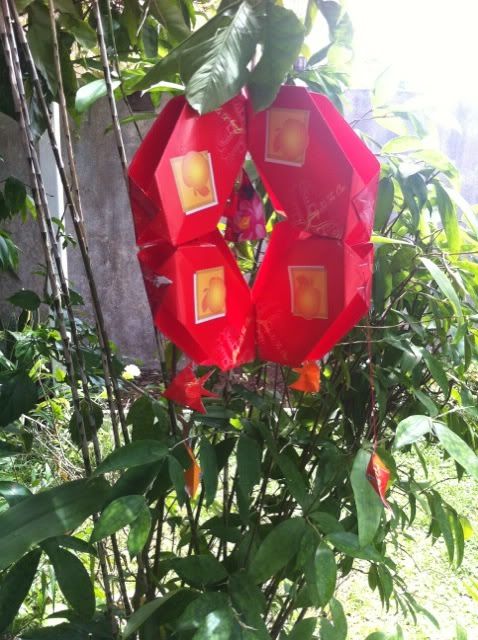
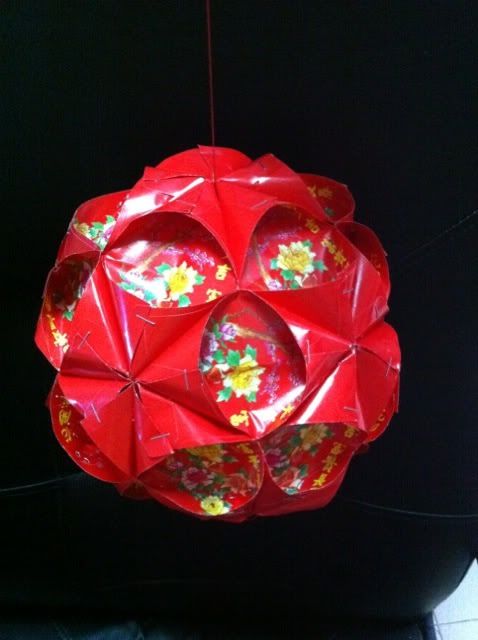
Tutorial Below:
Have a Blessed Chinese New Year to all my readers!
-
Silver Bracelet
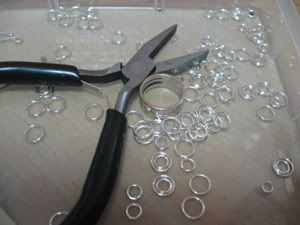
I got a pack of all in one necklace DIY jewelry. It was on sale. I kind of like the pattern. A few days ago, I opened it and started putting it together. Inside, has all the material needed to make a necklace. Instead of making a necklace because I seldom wear one, I made a bracelet instead.
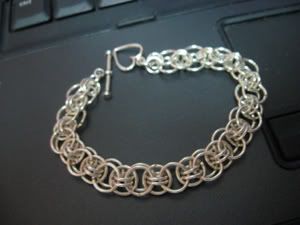
Here is the finish silver bracelet. I am wearing it now. Just lovely. By the way, it is less than RM20. Do you think I can sell this?
-
Sweet Ribbons
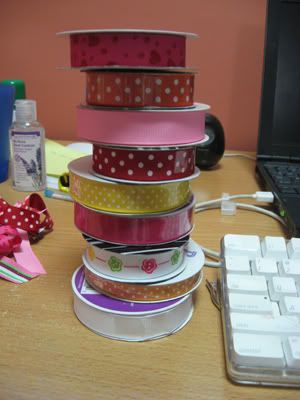
I saw some lovely ribbons from Hobby Lobby and Michaels, the craft store. Immediately I got some home, not some but a lot…hehehehe. I love doing craft but I will limit myself to do craft that I can use. Besides getting ribbons, I got 2 rolls of yarn to make a hang bag, when I have time. I also got some nice charms and beads.
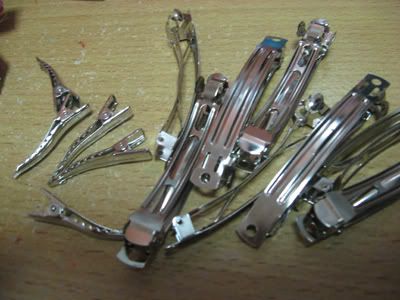
So I got the clips and ribbons:
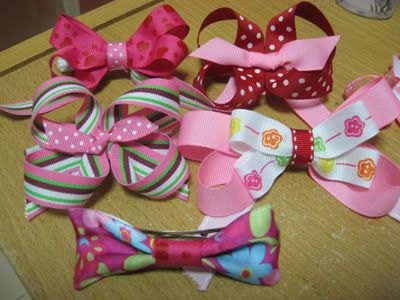
With the online free tutorials to make beautiful bows, I made these. Does it look professional? They are all for my gal to wear on her hair.
-
Crafted Bracelets
After walking into a bead store and spending over RM200 worth of stuff. Here is what my creations are:


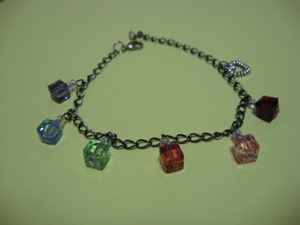

Why only bracelets? That’s the only thing I would wear. Maybe I will make some necklaces. If you find any nice patterns, let me know.
-
Wire Jewelry
First it was the pliers and then I found a beads shop. Put them together, I get to make wire jewelry. I got a set of jewelry kit for a long time and I had no time to play with it.
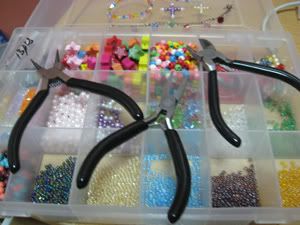
However, one of my Sunday School children thought me how to make a nice simple earrings. I like it very much especially twisting the wire with the pliers.
I found a beads shop called JoJo accessories which sells very nice Swarovski crystal. I wanted to make some bracelets with it. Here are my innovations:
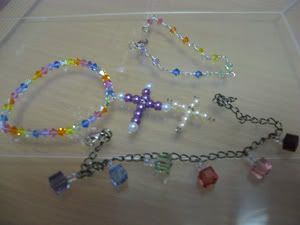
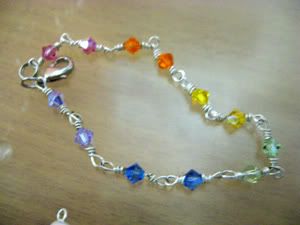
Ok, I am still beginners and still mastering how to twist the wire nicely. If you know where I can get cheap and nice beads, let me know. By the way, I will be in hobby lobby soon and I tell you I will sure go broke if I enter that store.
-
Weaving A Cross
Today I am going to show you how to weave a cross. Usually most people would use palm leaves to do it. However, I would use a pandan leave because it gives a little fragrant and you can keep it in your handbag or drawer.
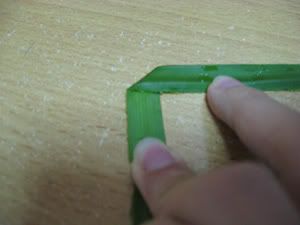
Step 1: Take a strip of pandan leave. You can split it into 2. Make a L shape with a little triangle in the middle.
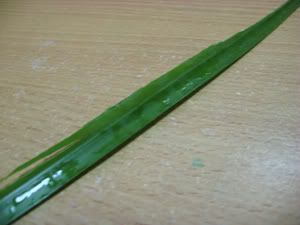
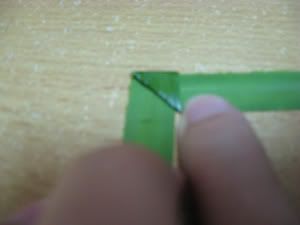
Step 2: Fold the triangle downwards twice. You will end up a square covering the triangle.
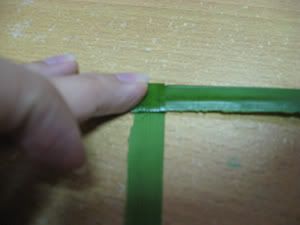
Step 3: You take the left strand of the leave, move it backwards to make a loop and go through the pocket of the square. Tighten it to have a square pocket.
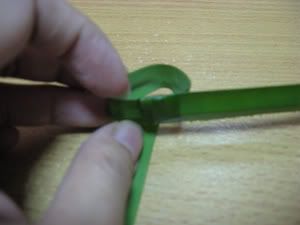
Step 4: Weave the leave through the pocket to make the vertical bar of the cross.
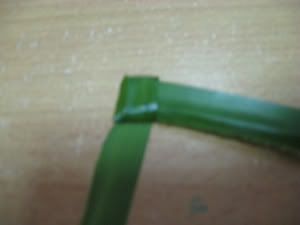
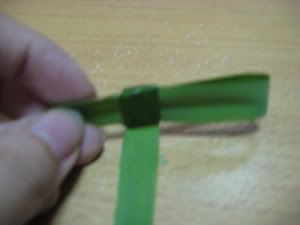
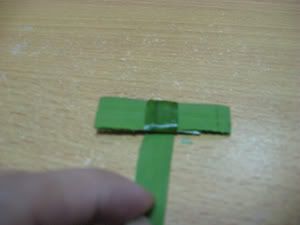
Step 5: Weave the leave through the back pocket to make the horizontal bar of the cross.
Wah lah…you have a nice cross. Adjust it to make it proportional.
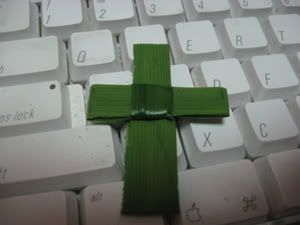
Happy Easter to all!!!
-
Japanese Paper Dolls
I just love doing origami. I picked up origami when I was in my primary school. I remembered my first origami was folding a sampan. My mom thought me how to do that. Later I picked up more and I know how to fold birds, airplane, cup, ball, shirt, flowers, etc. I like doing things with my hands.
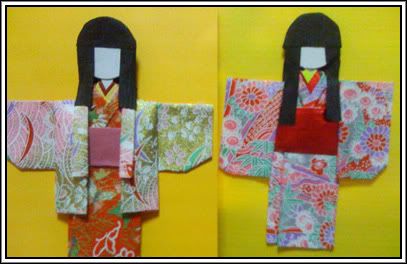
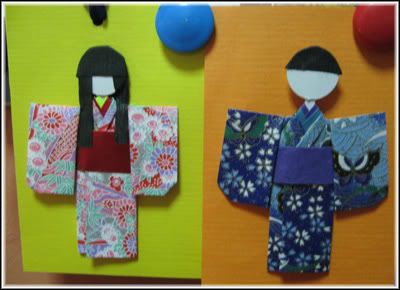
Now I am folding Japanese Paper Dolls. I wished to learn how to fold 3D Japanese Dolls. It will be kind of cool. It is amazing how the Japanese can come up with lovely creation. You can turn this into a bookmark too.
I will get more lovely Japanese paper in Isetan when I am down in KL. Maybe fold a few Japanese dolls and frame it up. Looks like it will be my next project. After that, I will probably put it out to bid in eBay. How much do you think I should sell it for?
-
How To Make A Tutu
If you want to make a nice tutu for your little gal and you do not know how to sew, here is some help. Click here for a step by step guide with pictures to show you.
It is a non-sew handmade tutu. You do not need any sewing skills. It is simple. All you have to do is cut and tie. It is good for a Halloween costume. Your gal can be a fairy with it. To add color to the tutu, you just have to buy colored netting material. White goes with anything. You can alternate white with your favorite color.
The cost for me to do this is only RM10


